博客搭建
1 nodejs安装和配置环境
1.1安装
直接访问node.js官方网站即可
注意一下安装路径就行
安装后的测试方法: 控制台输入
1 | |
1.2配置环境变量
如果是默认安装,就不用管。不过我很早之前就装好了,所以忘了要不要配置。
admin身份打开cmd
1 | |
1 | |
注:****为nodejs安装位置
注意: 修改全局安装路径后,需要在系统环境变量Path中添加该路径,否则之后使用npm install –global xxx,xxx都报错找不到命令。
2 安装git
git官方网站下载即可,无脑下一步,带new的新功能不选就行
3 安装hexo
cmd指令,使用魔法会方便一点.
1 | |
4 检查安装
- nodejs
1 | |
- npm
1 | |
- git
1 | |
- hexo
1 | |
能看到版本号就是成功了
5 创建仓库和ssh配置
5.1建立仓库
仓库名字一定要是自己的名字+.github.io
5.2生成ssh keys
在本地博客文件夹的根目录下,使用右键的git bash here
可以先使用ssh测试是否安装ssh,一般git默认有安装。
本地生成ssh keys
1 | |
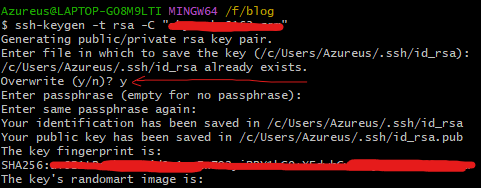
无脑回车,跟着提示走就行,注意第二次要输入y再回车。
在本地文件找到.ssh文件夹:git会提示在哪的:
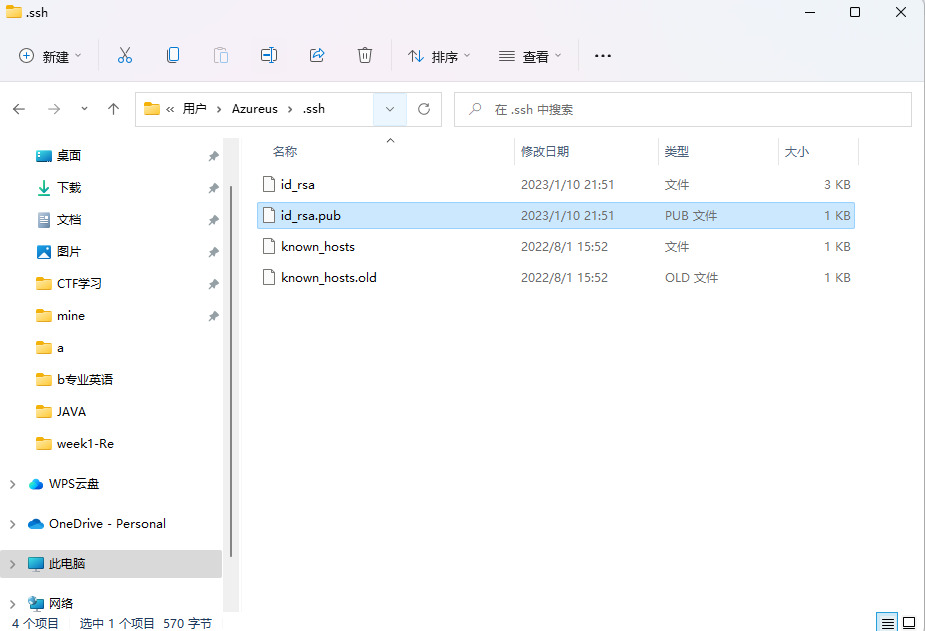
注意,被保存到github的是id_rsa.pub里面的内容,用记事本打开就行。
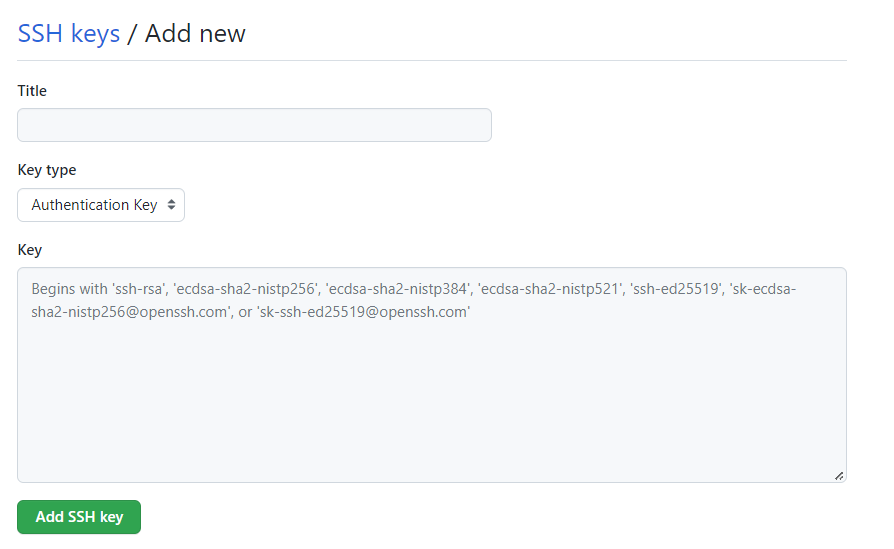
打开github,头像箭头,下拉选项setting \(\rightarrow\) SSH and GPG keys \(\rightarrow\) new ssh keys(新建ssh秘钥)
将id_rsa.pub里面的内容粘贴进去,名字随便取:
为了后面流程,在github里顺便设置person access tokens(个人访问令牌)(Developer setting log \(\rightarrow\) Generate new token)
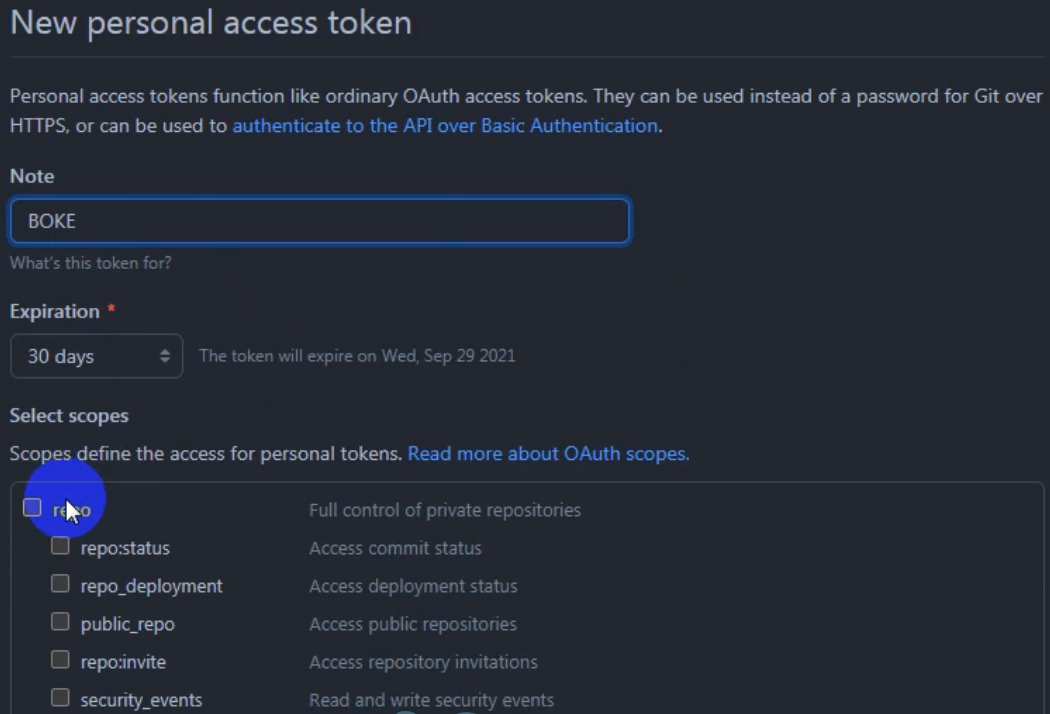
下面勾选权限,建议全部勾选
点击生成,生成的序列号,要复制下来在存在本地,他只显示一次,如果忘记了,还需要重新生成一次。
测试ssh是否绑定成功:
1 | |

6 搭建本地博客
初始化hexo
1 | |
在本地博客的文件夹使用git Bash here

成功的标识:
1 | |
生成本地页面:
1 | |

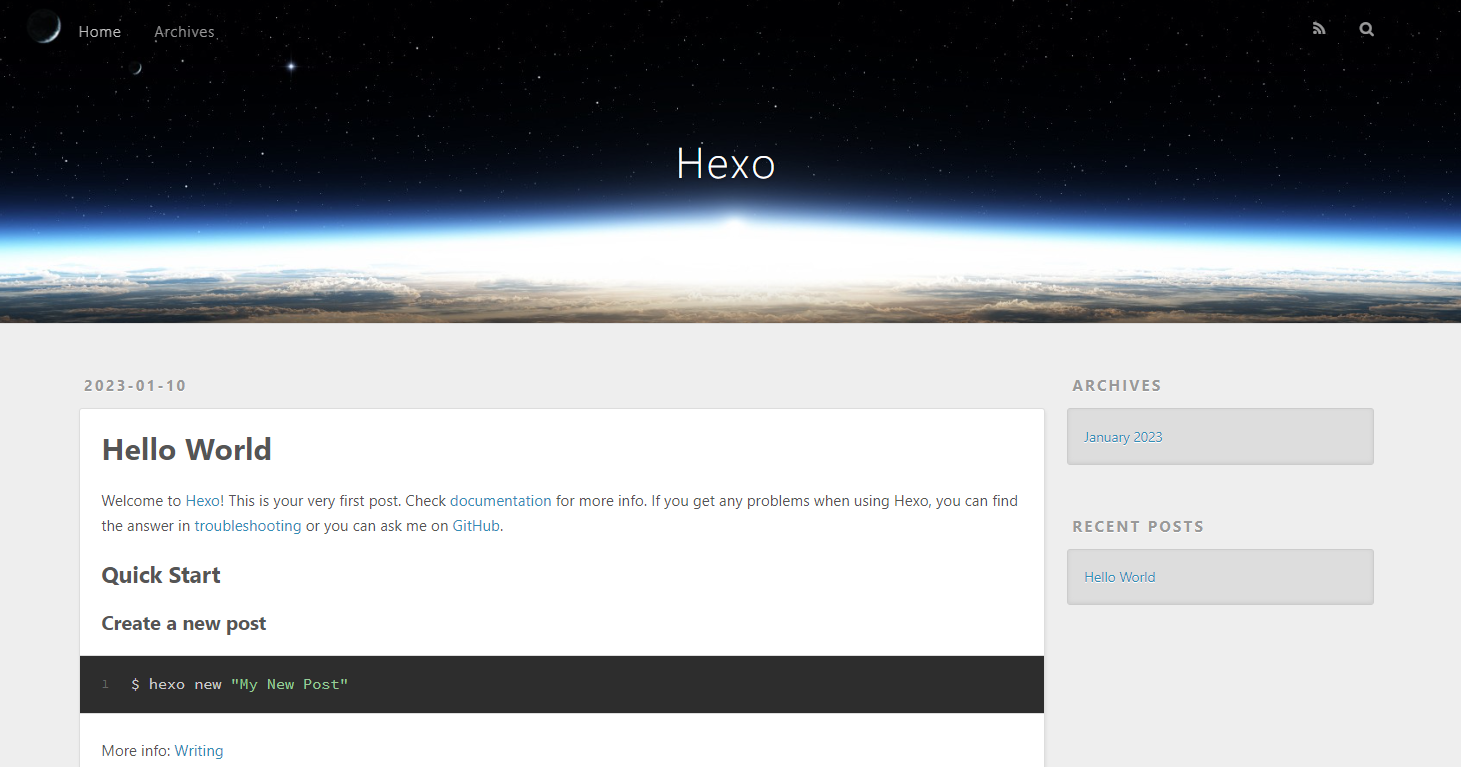
1 | |
7 上传至本地博客
7.1 修改配置文件
修改blog文件夹的**_config.yml**
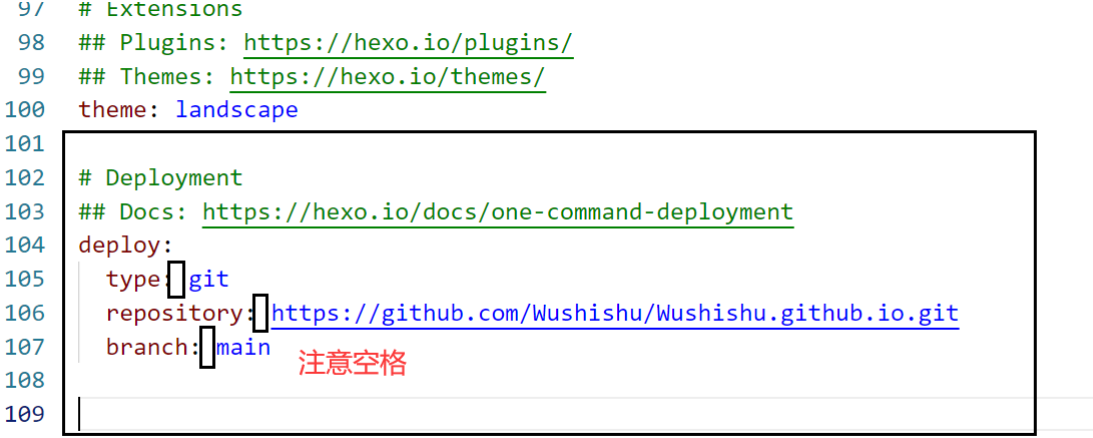
注意冒号后面存在空格(图片的配置过时了,使用下面的)
1 | |
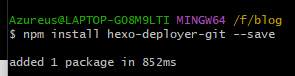
7.2 安装hexo-deployer-git 自动部署发布工具
1 | |
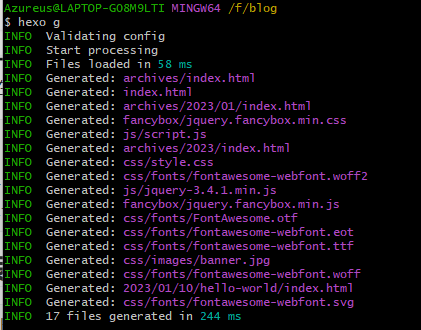
7.3 编译文件生成页面
1 | |
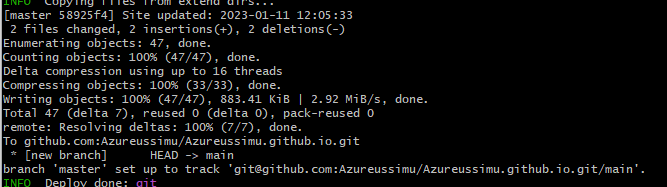
7.4 本地文件上传到Github
1 | |
8 安装主题
8.1 选择主题
挑了一会,最后选择了Fuild主题。

那就跟着github仓库的readme走了
参考:
https://hasegawaazusa.github.io/hexo-note.html?highlight=%E5%8D%9A%E5%AE%A2